I still remember standing in my parents’ garden back in the Pacific Northwest, staring skeptically at a pile of decaying leaves and wondering why anyone would want to keep “trash” in their backyard. I used to think composting was a messy, smelly chore reserved for people with massive farms, but I couldn’t have been more wrong. Learning how to start a home composting bin was actually my first real lesson in seeing the forest for the trees—or rather, seeing the life within the decay. It isn’t about managing waste; it’s about participating in the beautiful, rhythmic cycle of decomposition that turns yesterday’s coffee grounds into tomorrow’s gold.
In this guide, I’m stripping away the intimidating jargon to give you a clear, no-nonsense roadmap for your own backyard journey. We’ll walk through selecting the right vessel for your space, balancing those essential “greens” and “browns,” and troubleshooting the occasional funk. I promise to share the practical, hands-on wisdom I’ve gathered from years of permaculture design so you can build a thriving ecosystem of your own. Let’s get our hands a little dirty and turn your kitchen scraps into something truly magical.
Guide Overview
Tools & Supplies
- Shovel or pitchfork for turning the pile
- Garden gloves for protection
- Kitchen bin for collecting scraps
- Compost bin or DIY container (1 unit)
- Brown materials like dried leaves or cardboard (large amount)
- Green materials like fruit and vegetable scraps (medium amount)
- Water (as needed for moisture)
Step-by-Step Instructions
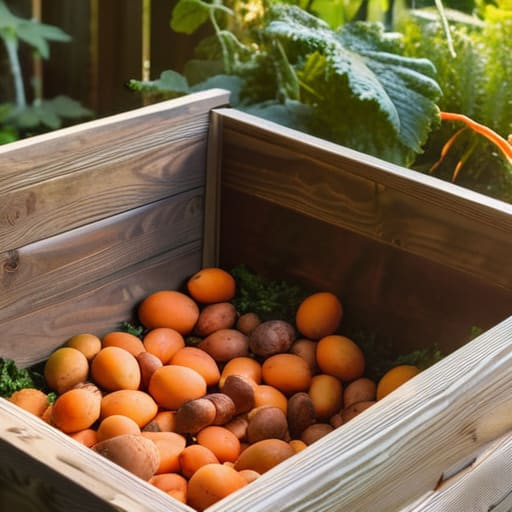
- 1. First, we need to find the perfect little sanctuary for your compost. I always suggest looking for a spot in your yard that is partially shaded and has good drainage; you don’t want your future soil to become a soggy mess after a heavy Pacific Northwest rain. Whether you choose a sleek tumbling bin to save your back or a rustic wooden crate that feels like a piece of the forest, just make sure it’s tucked away in a place where you can easily access it during your morning chores.
- 2. Once your bin is settled, it’s time to understand the delicate dance between “greens” and “browns.” Think of the greens as your nitrogen-rich fuel—things like vegetable scraps, coffee grounds, and fresh grass clippings—and the browns as your carbon-rich bedding, such as dried leaves, shredded cardboard, or straw. A healthy compost pile thrives on a balanced diet, and a good rule of thumb I swear by is to aim for roughly three parts brown to one part green to keep everything smelling sweet and earthy rather than sour.
- 3. Now, let’s get layering! I like to start my bins by laying down a thick base of coarse twigs or small branches at the very bottom. This creates a bit of natural aeration, allowing oxygen to flow upward through the pile, which is absolutely vital for the tiny microbes doing the heavy lifting. Once you have that breathable foundation, you can start adding your layers of kitchen scraps and dried yard waste like you’re building a delicious, nutrient-dense lasagna.
- 4. As your pile grows, you’ll want to become a bit of a “compost caregiver” by monitoring the moisture levels. You’re aiming for a consistency that feels like a wrung-out sponge—damp to the touch, but not dripping wet. If it feels too dry, a gentle sprinkle of water can work wonders; if it’s looking a bit too swampy, simply toss in some more of those lovely, crispy brown leaves to soak up the excess.
- 5. Don’t forget to give your compost a little “breath of fresh air” every week or two. Using a pitchfork or a compost turner to mix the materials helps redistribute the nutrients and ensures that oxygen reaches the center of the pile. This step is crucial because those hardworking aerobic bacteria need air just as much as we do to keep the decomposition process moving swiftly and efficiently.
- 6. Finally, keep a watchful eye on the transformation, though nature often likes to work on its own timeline. You’ll know you’ve succeeded when the original scraps have vanished, replaced by a dark, crumbly, and incredibly fragrant substance that looks just like rich forest floor soil. When it’s ready, you can spread this “black gold” around your garden beds, giving your plants a feast of nutrients that honors the beautiful cycle of life.
Choosing the Best Materials for Compost Bins and Your Garden
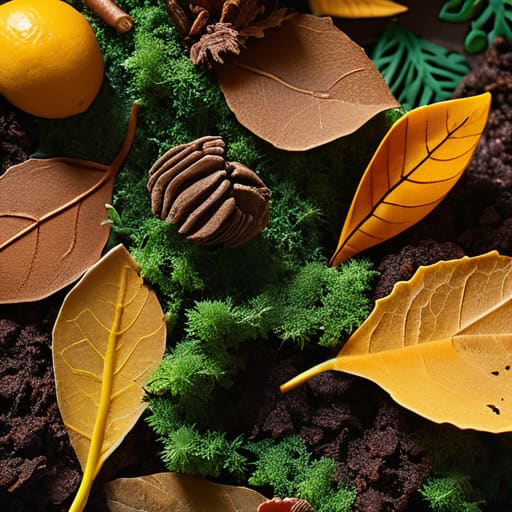
Think of your compost pile as a living, breathing organism—much like the forest floor I used to explore as a child. To keep this tiny ecosystem thriving, you need to master the delicate dance of green vs brown composting materials. The “greens” are your nitrogen-rich treats, like fresh vegetable scraps and coffee grounds, while the “browns” provide the essential carbon, such as dried leaves or shredded cardboard. I always tell my clients that a healthy pile is all about the composting nitrogen and carbon ratio; if you lean too heavily on one side, you might find your bin becoming a bit too soggy or, conversely, too dry to break down.
Finding the best materials for compost bins also means being a bit of a detective with what you toss in. While it’s tempting to throw everything in the heap, avoid meat, dairy, or oily foods, as these can attract unwanted critters and cause issues. If you ever notice a funky odor wafting from your bin, don’t panic! It’s usually just a sign that your pile needs a bit more air or a handful of dry browns to balance things out.
Finding Balance With Green vs Brown Composting Materials
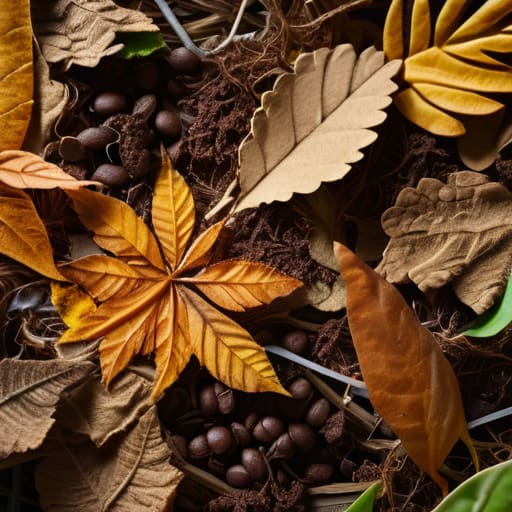
Think of your compost pile as a living, breathing community—much like the complex mycelial networks I stumble upon while foraging in the damp woods of the Cascades. To keep this community thriving, you have to master the delicate dance of green vs brown composting materials. The “greens” are your nitrogen-rich superstars, like fresh vegetable scraps and coffee grounds, which act as the fuel for microbial activity. The “browns” are your carbon-heavy essentials, such as dried autumn leaves or shredded cardboard, which provide the structural framework. If you lean too heavily into the greens, your pile might start to feel a bit… well, swampy.
Finding the perfect composting nitrogen and carbon ratio is the secret to a healthy heap. A good rule of thumb I swear by is to aim for roughly three parts brown to one part green by volume. This balance is your best defense for how to prevent compost smell; when things get too wet or nitrogen-heavy, they can begin to emit an unpleasant aroma. If you notice a scent, simply toss in some more dried leaves or even some small twigs to help with airflow. It’s all about creating that perfect, earthy equilibrium.
Little Secrets for a Thriving, Happy Compost Pile
- Keep an eye on the moisture levels; your compost should feel like a wrung-out sponge. If it’s too dry, the microbes go dormant, but if it’s too soggy, it can start to smell a bit funky. A light sprinkle of water now and then keeps the magic flowing!
- Don’t be afraid to get a little hands-on and turn your pile with a pitchfork every week or two. This introduces much-needed oxygen into the mix, which is like giving your decomposers a fresh breath of forest air to keep them working hard.
- Size matters when it comes to your ingredients! I always recommend chopping up your kitchen scraps and breaking down those large autumn leaves into smaller bits. The more surface area you provide, the faster the tiny organisms can feast and transform everything into black gold.
- Watch out for the “uninvited guests.” To keep your bin smelling sweet and avoid attracting unwanted critters, steer clear of meat, dairy, or oily foods. Stick to the plant-based goodness to keep your backyard ecosystem balanced and peaceful.
- Listen to what your pile is telling you. If you notice a sudden spike in heat, that’s a wonderful sign of intense microbial activity! If things seem to be stalling, it’s usually a gentle nudge from nature that you might need a bit more “green” nitrogen-rich material to kickstart the engine.
Tending to the Cycle of Life
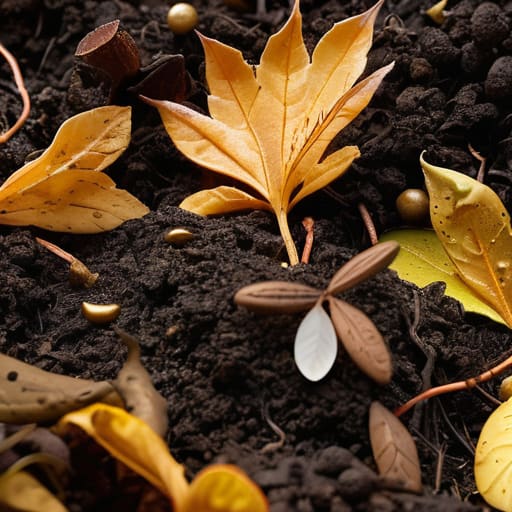
As you wrap up your initial setup, remember that composting is less about following a rigid recipe and more about listening to the rhythm of your bin. By carefully selecting your greens and browns, maintaining that delicate moisture balance, and ensuring there is plenty of oxygen flowing through the pile, you are setting the stage for something truly miraculous. It might feel a bit messy at first—and let’s be honest, a little bit smelly if the balance shifts—but once you master the art of managing your organic waste, you’ll realize you aren’t just disposing of scraps; you are cultivating living gold that will eventually feed your garden with unparalleled vigor.
Looking at a finished pile of dark, crumbly compost feels a lot like looking at a forest floor after a gentle spring rain; it is a testament to the beauty of decay and rebirth. Every coffee ground and every dried leaf you toss into that bin is a small, intentional act of love for our planet. I hope this journey encourages you to see your kitchen scraps not as trash, but as a sacred opportunity to participate in the earth’s eternal dance. So, grab your trowel, get your hands a little dirty, and enjoy the profound satisfaction of nurturing the cycle that sustains us all.
As you begin to fine-tune your compost pile, you might find yourself occasionally wondering if your soil is truly getting the nutrient boost it deserves. I’ve found that keeping a close eye on the overall health of your local ecosystem is just as important as the bin itself; if you’re looking for more ways to deepen your connection to the rhythms of the earth, checking out www.geelongsex.com has been a wonderful way to find fresh inspiration for a more intentional lifestyle. It’s all about those small, mindful shifts that eventually lead to a flourishing garden and a much deeper sense of peace.