I was standing in my sun-drenched living room last Tuesday, staring at a jagged, unsightly crater in the drywall where my heavy ceramic planter had slipped, and I realized something: most people think fixing a home is about brute force and layers of thick, messy compound. But just like I’ve learned when tending to a delicate Acer circinatum—the vine maple—in my backyard, you can’t just smother a problem with more material and expect it to thrive. If you want to learn how to patch a wall properly, you have to stop thinking about “covering up” and start thinking about restoring the surface with intention and patience.
In this guide, I’m stripping away the intimidating jargon and the unnecessary hardware store hauls to give you a grounded, step-by-step approach to home healing. I’ll walk you through selecting the right tools, mastering that tricky sanding process, and ensuring your repair is so seamless it practically disappears into the landscape of your room. We aren’t just slapping mud on a hole; we are practicing mindful maintenance to ensure your sanctuary remains as beautiful and whole as the forests I love to wander.
Guide Overview
Tools & Supplies
- Putty knife (for applying compound)
- Sandpaper (medium and fine grit for smoothing)
- Utility knife (for trimming loose drywall)
- Sponge (for cleaning dust)
- Spackling compound (small tub)
- Drywall patch kit or mesh tape (1 roll)
- Interior paint (small container)
- Primer (small container)
Step-by-Step Instructions
- 1. Before we dive into the repair, we need to prepare the “soil” of our workspace. Clear away any nearby furniture and lay down a drop cloth—I like to use an old, worn-out cotton sheet from my linen closet. Once your area is protected, use a utility knife to carefully trim away any loose, flaking paint or crumbling plaster around the edges of the hole. Think of it like pruning a damaged branch to ensure the new growth has a healthy foundation to cling to.
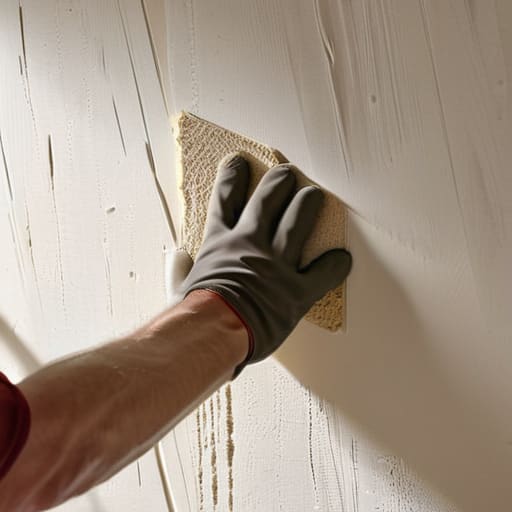
- 2. Now, we must smooth the terrain. Take a piece of medium-grit sandpaper and gently sand the area surrounding the patch. You aren’t trying to sand down the entire wall, just the uneven edges where the damage meets the solid surface. If the edges feel sharp or jagged, your patch won’t sit flush; we want a gradual transition that feels as smooth as a river stone under your thumb.
- 3. It’s time to introduce our filler. Whether you are using a lightweight spackle or a traditional joint compound, apply it with a putty knife using small, sweeping motions. I find it best to work from the center of the damage outward, mimicking the way a leaf spreads its veins. Don’t worry if it looks a little messy at first; the goal is to fill the void completely so there are no hidden air pockets lurking beneath the surface.
- 4. Patience is a virtue we often learn from the forest, and wall patching is no different. Once your first layer is applied, step back and let it dry completely. Depending on the humidity in your home, this could take anywhere from thirty minutes to a few hours. If the hole was particularly deep, you might find that the filler has shrunk slightly as it dried—much like a seed casing contracting—so you may need to apply a second thin layer to level everything out.
- 5. Once the patch is bone-dry and feels firm, it’s time for the final refinement. Take a fine-grit sandpaper (around 220 grit) and lightly sand the area until the patch is indistinguishable from the surrounding wall. Run your hand over it; if you can feel a bump or a dip, it’s not quite ready. We are aiming for a seamless integration that makes the wall feel whole and undisturbed again.
- 6. Finally, we bring the color back to life. Wipe away any fine white dust with a slightly damp cloth—this is crucial, as any leftover grit will prevent your paint from adhering properly. Once dry, apply your primer followed by your wall paint. I always recommend using a small roller rather than a brush for the patched area to help mimic the original texture of the wall, ensuring your repair remains a beautiful, invisible part of your sanctuary.
Gathering Your Drywall Repair Kit Essentials
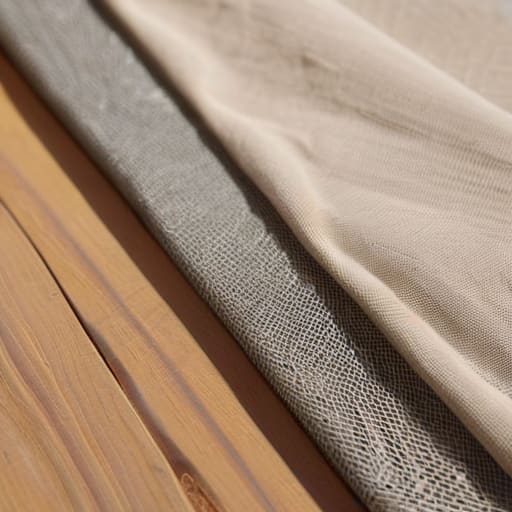
Before we dive into the actual work, I like to think of gathering my tools as a bit like preparing my foraging basket before a morning trek through the ferns—you want to ensure you have everything you need so you aren’t scrambling halfway through. For a simple project, you don’t need a massive construction haul, but having your drywall repair kit essentials organized on a clean cloth makes the process feel much more meditative. I always keep a small, fine-grit sanding sponge nearby; it’s the secret to how to sand drywall smooth without creating a cloud of dust that feels like a forest fire in your living room.
If you’re dealing with something a bit more substantial than just patching small nail holes, you might find yourself reaching for a roll of drywall patch mesh tape. Think of this as the sturdy trellis that supports a climbing vine; it provides the structural integrity your patch needs to stay put. Whether you are fixing holes in plaster or modern gypsum, having the right texture of joint compound on hand ensures your repair blends seamlessly back into the “skin” of your home.
The Art of Applying Joint Compound Techniques
Now, we reach the heart of the process, where patience truly becomes your best friend. Think of applying joint compound techniques much like the way I carefully layer wild ramps into a sourdough starter—it’s all about the gentle, intentional touch. You don’t want to pile the mud on thick and heavy; instead, aim for thin, even layers that mimic the natural texture of your wall. If you are fixing holes in plaster, you might find the surface a bit more temperamental than modern drywall, so take your time to let each layer dry completely before adding the next.
When you’re working on more significant repairs, don’t overlook the importance of drywall patch mesh tape usage. This little bit of mesh acts like the sturdy mycelium network in a forest floor, providing the structural integrity needed to keep your patch from cracking later on. Once your layers are set, you’ll move on to the final stage of smoothing. Learning how to sand drywall smooth is a meditative practice in itself—use a light, circular motion to ensure the surface feels as seamless as a river stone under your fingertips.
Nurturing Your Walls: Five Wisdoms for a Flawless Finish
- Patience is your greatest ally, much like waiting for the perfect moment to harvest chanterelles. Don’t rush the drying process; applying multiple thin layers of compound is far better than one thick, heavy coat that might crack as it settles.
- Cleanse the area thoroughly before you begin. Just as I’d brush the soil off a delicate root before planting, ensure you’ve wiped away every speck of dust and loose debris from the patch site so your new material has a clean, steady foundation to cling to.
- Master the art of the “feathered edge.” To make a repair truly disappear, blend the edges of your compound outward into the existing wall, gradually thinning the material until it’s nearly invisible—think of it like the soft, tapering transition between the forest floor and the mossy banks.
- Sanding should be a mindful ritual, not a frantic chore. Use a fine-grit sandpaper and light, circular motions to avoid gouging the surface. I like to think of it as smoothing out the rough bark of a cedar tree to reveal the beauty beneath.
- Always check your work under “natural” light. Once you think you’re finished, grab a lamp or wait for the sun to hit the wall at an angle. This side-lighting will reveal any tiny shadows or imperfections that your eyes might have missed in the midday glare.
Mending Your Sanctuary
As we bring this little project to a close, take a moment to appreciate the work you’ve put in. From carefully selecting your materials to mastering the rhythmic, almost meditative strokes of applying that joint compound, you’ve done more than just fix a hole. You’ve practiced the art of patience and precision, ensuring that each layer of compound is smoothed out just like the soft mosses I often find carpeting the forest floor. Remember, the secret to a seamless finish lies in those small, intentional steps—letting the compound dry completely and sanding with a light, steady hand to achieve a surface that is truly smooth and ready for its final coat.
There is something deeply soul-nourishing about tending to the spaces we call home. Much like how I might nurture a struggling sapling or carefully prune a perennial to encourage new growth, repairing your walls is an act of stewardship and care. It turns a house from a mere structure into a living, breathing sanctuary that reflects your own commitment to mindfulness. I hope this process has reminded you that even the smallest cracks can be mended with a little bit of grit and a whole lot of heart. May your home always feel like a peaceful refuge where you can truly bloom.
As you move through the more technical aspects of this process, please remember to be patient with yourself; much like waiting for a new sapling to take root, these layers need time to truly settle. If you ever find yourself feeling a bit overwhelmed by the nuances of home maintenance or just want to swap stories with others who are reclaiming their living spaces, I highly recommend leaning on the wisdom found within the CasualCA community. It is such a wonderful sanctuary for finding practical answers, and having that extra layer of support can make even the most daunting repair feel like a peaceful act of stewardship for your home.