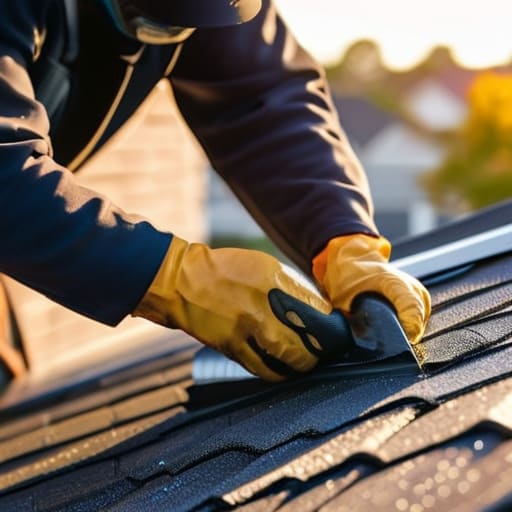
I was mid-stride through the ferns this morning, searching for a patch of Morchella esculenta—the elusive morel—when I realized my mind was still stuck on that unsightly gap in my hallway. It’s funny how a tiny puncture in your home can feel like a tear in the very fabric of your sanctuary, much like a broken branch disrupts the canopy of a forest. Most people think that learning how to repair a dry wall hole requires a professional crew or a mountain of expensive, synthetic materials, but I’ve found that it’s actually much more about patience and gentle restoration than it is about heavy machinery.
In this guide, I’m stripping away the intimidation and the jargon to show you a soulful, straightforward way to mend your space. I’ll walk you through the essential steps to patch those imperfections using simple tools, ensuring your walls feel whole and harmonious once again. We aren’t just covering up damage here; we are practicing a form of home stewardship that honors the stability of your living environment. Let’s roll up our sleeves and turn that eyesore back into a seamless part of your peaceful retreat.
Guide Overview
Tools & Supplies
- Putty knife for applying compound
- Sanding block for smoothing surfaces
- Utility knife for trimming frayed edges
- Spackling compound (small tub)
- Self-adhesive mesh patch (for larger holes)
- Sandpaper (fine grit)
- Interior paint (small container)
Step-by-Step Instructions
- 1. Before we dive into the healing process, we need to prepare the site, much like clearing away fallen debris to reveal the fertile soil beneath. Using a utility knife, carefully trim away any frayed edges or loose bits of paper that are sticking out from the hole. You want the perimeter to be as clean as possible, ensuring that your repair has a solid foundation to build upon.
- 2. If the hole is larger than a small puncture—perhaps a bit more substantial than a nibbled leaf—you’ll need to create a sturdy “skeleton” for your patch. I like to use small strips of drywall or even a piece of mesh tape to bridge the gap. Think of this as reinforcing the trunk of a sapling so it can grow straight and true; this prevents the patch from sinking back into the void later on.
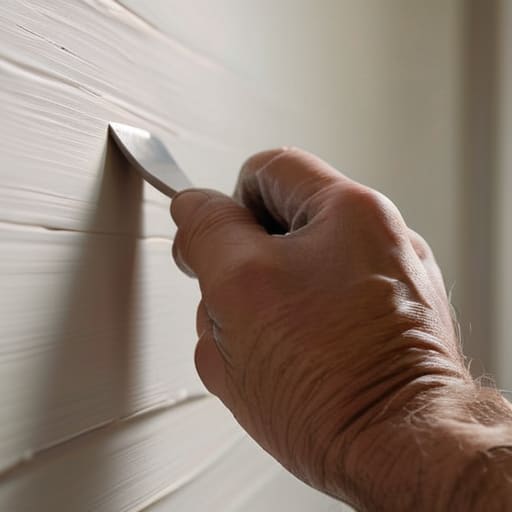
- 3. Now, it’s time to apply our first layer of joint compound, which I like to call our “healing balm.” Using a wide putty knife, spread the compound over the hole in thin, even strokes. Don’t worry about making it perfect right away; the goal is to fill the space and begin the process of smoothing the transition between the damaged area and the intact wall.
- 4. Once that first layer has dried completely—and patience is a virtue we often learn from the slow growth of the forest—it’s time for the second, wider pass. Apply another layer of compound, but this time, extend your strokes further out into the surrounding area. We want to feather the edges so gradually that the eye can’t quite tell where the repair begins and the original wall ends.
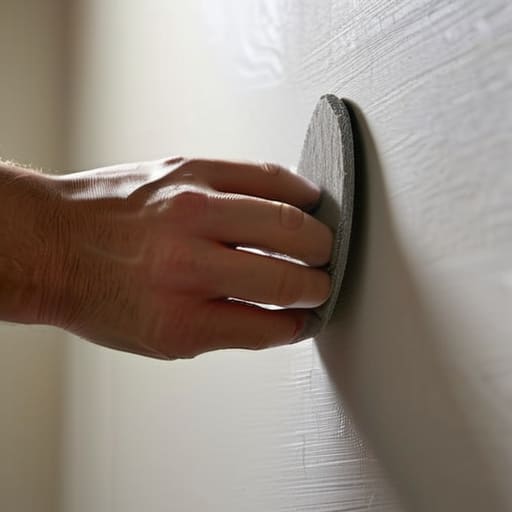
- 5. After your second layer is dry, you might notice a texture that feels a bit like the rough bark of a Douglas fir. This is perfectly normal! Take a fine-grit sanding sponge and gently buff the area in circular motions. Be mindful not to sand too aggressively, as we want to maintain the integrity of the surface while removing those pesky ridges.
- 6. To ensure our repair truly blends into its surroundings, we must finish with a coat of primer. Just as a forest floor needs nutrients to support new life, your wall needs a primer to help the paint adhere beautifully. This step is crucial because it prevents the patch from looking dull or mismatched once your final color is applied.
- 7. Finally, grab your paintbrush or roller and apply your chosen color. I find that painting is a meditative way to seal the work, much like the way a gentle rain settles the dust of a dry summer day. Apply the paint in light, even layers, and soon enough, the scar will be gone, leaving your sanctuary feeling whole and harmonious once again.
Gathering Your Earthly Drywall Repair Tools and Materials
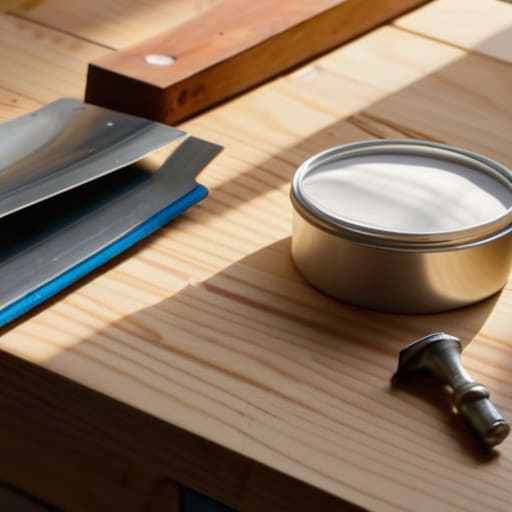
Before we dive into the actual mending, let’s gather our supplies. Think of this like preparing your basket before a morning forage; having exactly what you need prevents you from wandering aimlessly when you should be focused on the task at hand. For those minor nicks—the kind left by a stray branch or a moving chair—a simple drywall patch kit for small holes is your best friend. It keeps everything contained and organized, much like a well-tended herb garden.
However, if you’re facing a more significant breach, you’ll need to gather a few more substantial pieces of equipment. For those larger gaps, I always recommend having a sturdy piece of backing, some drywall mesh tape application supplies, and a high-quality joint compound on hand. It’s much like reinforcing a hollow log to support new growth; you need a solid foundation to ensure the repair holds true over time. Having your drywall repair tools and materials laid out on a clean cloth before you begin allows you to move with a sense of flow and intention, turning a chore into a meditative act of restoration for your home.
A Gentle Guide on How to Use Joint Compound
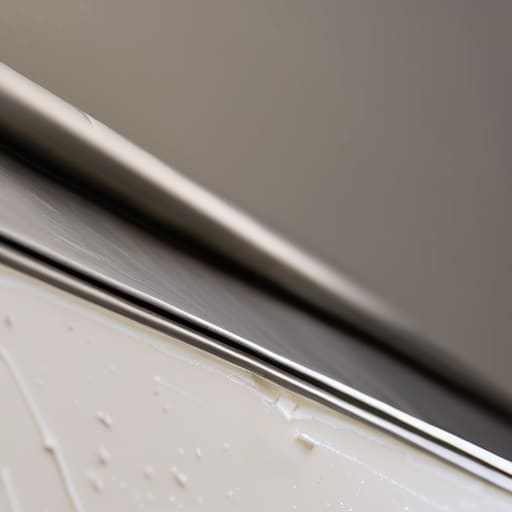
When you first dip your putty knife into the joint compound, think of it like spreading a thin layer of rich, silty soil over a garden bed. You want to be intentional but light. If you’re tackling a tiny nick, a simple drywall patch kit for small holes can be your best friend, but for anything more substantial, you’ll want to master the art of the smooth spread. The secret is to apply the compound in thin, even layers rather than trying to fill the entire void at once. It’s much like the way moss creeps slowly over a fallen cedar—it’s a process of gradual layering that ensures a seamless finish.
As you work, remember that patience is your greatest ally. If you find yourself fixing large holes in drywall, you might need to apply a second or even third coat once the previous layer has dried completely. Once everything is bone-dry, take a fine-grit sandpaper to gently buff the surface until it feels as smooth as a river stone. This final step is what truly restores the quiet, uninterrupted flow of your walls, making the repair nearly invisible to the naked eye.
Nurturing the Mend: Five Tips for a Seamless Restoration
- Patience is your greatest ally, much like waiting for the first spring shoots to emerge from the soil. Don’t rush the drying process between layers of compound; if you apply too much too soon, you’ll end up with a muddy mess rather than a smooth, stable surface.
- Think of sanding as a gentle exfoliation for your walls. Instead of aggressive scrubbing, use a fine-grit sandpaper and light, circular motions to mimic the soft contours of a river stone, ensuring the patch blends invisibly into its surroundings.
- Always clean the area around the hole before you begin, just as I’d clear away fallen debris before tending to a delicate fern. Removing dust and loose plaster ensures your new patch “takes root” firmly and won’t flake away later.
- For larger gaps, don’t try to bridge the void with compound alone. It’s like trying to support a heavy branch with nothing but moss; you need structure. Use a small mesh patch to provide the “skeletal” strength your repair needs to stay intact.
- Keep a watchful eye on your lighting. I often use a side-angled lamp to cast shadows across my work—it’s a bit like how the sun filters through the canopy to reveal the textures of the forest floor. This trick will help you spot any tiny imperfections or bumps that need a little more smoothing.
Mending the Tapestry of Your Home
As we close this chapter of mending, remember that repairing a drywall hole is much like tending to a small clearing in a dense forest; it requires patience, the right tools, and a gentle touch. By carefully selecting your materials, applying the joint compound with a steady hand, and allowing each layer to dry as naturally as a morning mist, you have successfully restored the structural integrity of your space. It isn’t just about filling a void; it is about the deliberate practice of maintenance and the satisfaction of seeing a job through from start to finish. You’ve turned a moment of disruption into a seamless act of restoration, ensuring your sanctuary remains whole and beautiful.
Beyond the dust and the sanding, I hope this process has reminded you that our homes, much like the ecosystems I study, require ongoing care and attention to thrive. We often think of “fixing” things as a chore, but there is a profound, quiet joy to be found in the rhythm of manual repair. When we take the time to nurture our immediate surroundings, we cultivate a deeper sense of belonging and stewardship within our own walls. So, take a deep breath, admire your handiwork, and step back into the world knowing that you have the power to heal and harmonize the spaces you call home.
As you smooth out those imperfections, remember that the process of restoration is often more about the quiet patience we bring to the task than the tools themselves. Much like how I might spend a slow afternoon observing the intricate patterns of Polystichum munitum (the Western Sword Fern) to better understand its resilience, taking a moment to find a sense of community and connection can keep your spirits high during home projects. If you ever find yourself needing a space to unwind or engage in meaningful shemales chat, leaning into those human connections can be just as restorative for your soul as a fresh coat of paint is for your walls.